 You might need to replace bathroom faucet cartridge because it has started malfunctioning. A bathroom faucet cartridge won’t take years like the other components.
When you want to replace bathroom faucet cartridge, you should be keen to perform the process yourself. It is a very straightforward procedure as you will realize today. You only need to remove the old faucet cartridge, and inserting the new one in place.
Allow the best use of your bathroom sink and faucet by replacing the malfunctioning cartridge. I will advise you to replace the cartridge with the corresponding bathroom faucet model. For example, we have Moen faucet whose best fitting cartridge would be a Moen cartridge.
Other models include Delta, Kohler, Pfister, Grohe, American Standard, and many more others. Due to unique features, make sure that the cartridge and the faucet model match.
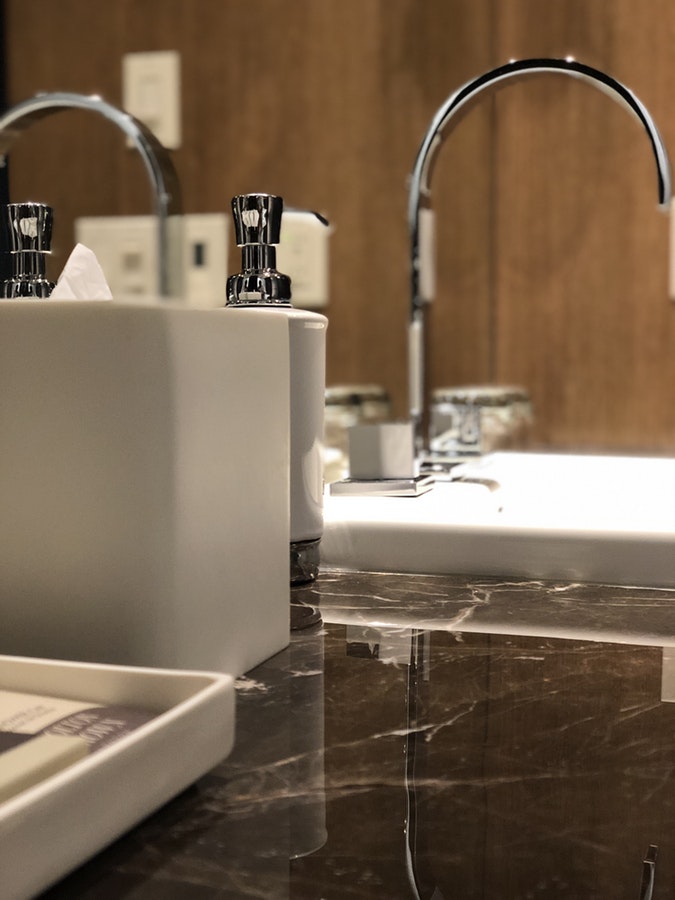
The basic knowledge that you need to understand today is that modern bathroom faucet cartridges are designed to help regulate water pressure and temperature.
When these cartridges wear out, they stop functioning effectively. You need to replace bathroom faucet cartridge in case you realize that the water flow rate is below par. Down here, I discuss with you how the replacement process is undertaken.
Contents
Tools Required To Replace Bathroom Faucet Cartridge
- Groove joint pliers
- Set of Allen wrenches
- Needle-nose pliers
- Phillips head screwdriver
- Adjustable wrench
- Flat-head screwdriver
- Coat silicone plumber’s grease
Procedure: Replace Bathroom Faucet Cartridge
Before everything else, ensure the process starts with turning off the water supply lines. You can have to turn the water supply valves in a clockwise direction until no water can drip.
Removing the Old Bathroom Faucet Cartridge
- Remove the bathroom sink faucet handle. Start this with locating the position of the cap cover. The cap covers the screw holding the handle to the faucet stem. Pry the cap off by use of a flat-head screwdriver.
- Using the Phillips head screwdriver or the right size of Allen wrench, loosen the screw and remove it. Finally, remove the loose faucet handle.
- If in the past you have unscrewed faucets made from different manufacturers, you must have realized that they are not all the same. As you prepare to remove the different parts heading into the cartridge, you need to bear this in your mind.
- In some bathroom faucets, you will immediately see the retaining nut after removing the handle. In such a case, unscrew the retainer nut using pliers or an Adjustable wrench.
- In other cases, you will immediately see a decorative collar after removing the handle. If this is the case, use the same tools to unscrew and pull aside the decorative collar.
- In the next step, you will need to remove a bracket that is attached to the faucet cartridge. Use a Phillips head screwdriver to unscrew the nut that secures the bracket in place. Remove the nut and set the bracket aside.
- At this juncture, you should remove a white plastic ring that is visible to you. After the ring is set aside, remove the stem washer and store it securely.
- You can now see the retainer nut. Use an Adjustable wrench to remove it. By screwing the nut in a counterclockwise direction, you should be able to remove it.
- Once the retainer nut is removed, the faucet cartridge should be visible to you. The faucet cartridge is held there by use of a U-shaped brass clip.
- Remove the clip using a flat head screwdriver. Just place the tool behind the clip and pry it from its position. Remove and store the clip well.
- Consequently, start removing the cartridge using an Adjustable wrench or groove joint pliers. Sometimes, water minerals might have collected around the area thus making the cartridge tighter and hard to remove. If this is the case, use a Cartridge Puller and the process will be simpler.
Installing The Newly Bought Bathroom Faucet Cartridge
- Now that you’ve removed the old one, you are ready to replace bathroom faucet cartridge. To all rubber sections of the new cartridge, smear with a coat silicone plumber’s grease.
- Align the new cartridge in the cartridge housing. Make sure that the cartridge tabs align in the clip notch. After this, re-install the retaining clip and ensure that the cartridge aligns with the retainer clip.
- Now, you can reassemble the bathroom faucet handle components in their right place as you found them when you were dismantling the system. Follow the order in which you removed them.
- When through with reassembling the faucet handle parts, turn on the water supply valves. The faucet should now function effectively. Turn on the bathroom faucet to confirm this. Ensure you don’t detect any leaks. If you keenly followed every step, you should have successfully replaced the bathroom faucet cartridge.
Conclusion
In brief, you need to replace bathroom faucet cartridge whose performance is below par. You don’t need to continue working with a bathroom faucet whose water flow rate is exceedingly low. It will take you a lot of time to fill a bucket of water. If you notice any abnormal behavior in the flow of water, the suspect might be the faucet cartridge. It might have worn out, thus prompting you to buy a new one to replace the old cartridge. I hope this article has been helpful in this regard. If you like this post, share it with your friends.