 When tiling a shower, you are bound to tile the floor, wall, and the ceiling. If you know how to tile a shower, you won’t need to pay even a dime to a professional plumber to have the work done. Tiling a shower is one of the easiest do-it-yourself projects in your home.
A tiled shower looks beautiful and adds value to your home. If you use durable material to tile your shower, the shower will serve you in the long run without experiencing any troubles. Make sure that you buy tiles made of the right materials so that you can prepare a leak-proof shower.
In this discourse, we are going to cover installing tiles on the shower walls, floor, and ceiling. We want you to have the knowledge on how you can make your shower look stunning and at the same time efficient. Here we go!
Contents
How to Tile a Shower Floor
Do you tile walls or floor first? How do you tile a shower base? What kind of a tile do you use for a shower floor? If these are some of the questions you might be having, we have an answer for you. First, you need to waterproof your floor and do other plumbing requirements before installing a tile floor. Make sure that you take all the measurements and purchase the number of tiles that can help you complete the flooring work.
Below are the requirements
- Spacers
- Ceramic floor tiles
- Tile adhesive
- Tile sealer
- Tile grout
Below is the simple procedure on how to tile a shower floor
- Before installing the ceramic tiles, lay them on the floor in a pattern similar to the one you would like to use. From that perspective, you can get a picture of how they will end up fitting on the basement.
Use a tile spacer to establish some room for the tile grout.
- After you’ve laid down the tiles on the basement, you must have realized that not all pieces will fit the way you would have wished. Therefore, you will have to cut them into sizes that will enable you to lay them down in a pattern that you had in mind.
For example, laying the tiles diagonally means that you will have to cut a considerable number of them and fit them into the edges.
- You now need to cut out the drain hole and design a tile that will fit in that space. After taking the measurements for your drain, cut the tile and ensure that it fits there well.
When all the tiles have been laid down the way you expected, you need to glue them.
Use the tile adhesive and apply to the base of every tile at a time while putting it back to the expected position on the floor.
Maintain the spacers between the tiles and before grouting allow enough time for the adhesive to set.
- You can now remove the spacers and ensure that you cover the tiles with grout; the grout should fill all the spaces between the tiles.
Use a sponge or a rag to wipe out any excess grout and allow the basement to dry for the next 24 hours.
- Use tile sealer to seal the grout and at this point, make sure you follow all the inscribed manufacturer’s directives.
How to Tile a Shower Wall
How do you prepare a shower wall for tile? How do you tile a wall step by step? Do you fit a shower before tiling? Should I grout the shower floor before tiling walls? We will discuss a four-stage process that is involved in the installation of the tiles on a shower wall. First, you will need to undergo the preparation phase, layout, apply adhesive and tiles, and finally grout the tiles.
The tiles need to be installed on a dry shower wall. You are responsible for ensuring that the surface is clean, flat, smooth, and dry.
The subsequent phase involves creating a layout. To complete this, locate the center of the wall to be tiled and use a level to establish intersecting horizontal and vertical layout lines. Gauge how the tiles fit in the area on the wall and keep adjusting the layout lines where necessary. As you test-fit, leave the grout joint spaces.
Since we agreed that the walls should be dry, you can then apply adhesive to the tiling locations. You can use the pre-mixed mastic adhesive or any other adhesive as recommended by the manufacturer. Use a notched trowel to apply the adhesive to the wall and make sure not to hide the layout lines with the use of the adhesives.
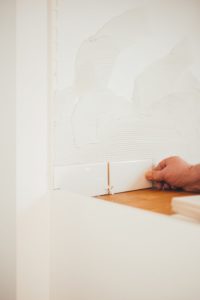
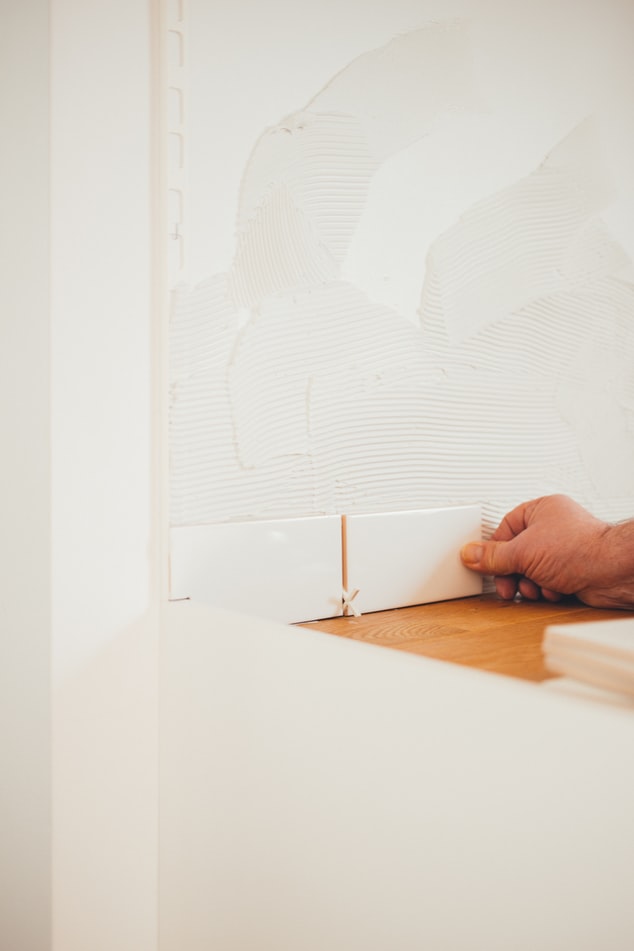
Along the layout line, place the first column and row of tiles while ensuring that you press and twist them firmly and embed them in the adhesive. Avoid sliding the tiles into position and use the spacer to establish consistent gaps for grout application. You can then install the other tiles in the subsequent columns and rows.
For the tiles that fail to fit in the required positions, you need to cut them into suitable sizes. If you want a hole through a tile, you can use a tile-cutting hole saw. For curved cut, use tile nippers and smoothen the edges with 80-grit sandpaper.
Once the tile adhesive has entirely cured, you can grout the tiles. Before grouting, remove the tile spacers. You ought to mix the grout as ordered by the manufacturer. Press the grout firmly on the spaces between the tiles and remove the excess using a rag and clean water.
How to Tile a Shower Ceiling
Do you tile ceiling in the shower? How do you waterproof a water ceiling? What should I put on my shower ceiling? How do you install ceiling tiles? If these are some of the questions disturbing you, you will get the answers today.
You can use Durock as the underlayment and ensure you frame as per the manufacturer’s guidelines. Use silicone caulk to seal all the joints. You can fill the first row and column with the tiles and ensure you get the layout lines that you find interesting.
If you are installing the tiles above the acrylic tub or fibreglass, use cardboard or a block of wood to protect them if they happen to fall. According to the manufacturer’s specifications, mix the thinset. Apply the thinset at the back of each tile and push the tile against the Durock on the ceiling; ensure you push it firmly and twist to make it seat well. Do this for all tiles and support them with the painters’ tape. Retain the support for the next 24 hours; you can remove them and apply the tile grout.
Conclusion
In summary, if you are struggling on how to tile a shower, this guide should be pretty helpful to you. Today, you can learn how to tile a shower floor, how to tile a shower wall, and how to tile a shower ceiling. If you follow all the steps properly, this guide will be helpful to you.
