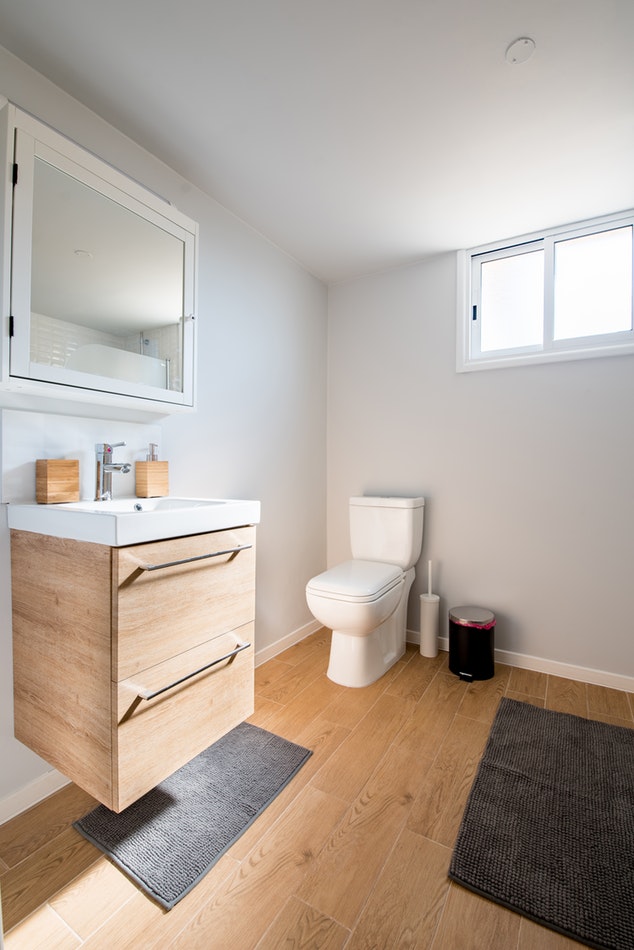
 Are you seeking to understand how to install a bathroom faucet in a newly built bathroom? Sometimes, the process might seem complicated depending on the nature of the bathroom faucet brand that you wish to install. But in most cases, the process is straightforward because you have to install the new cabinetry, countertop, and bathroom sink before the faucet.
The situation becomes trickier when working on an already installed bathroom sink. In this case, you will have to reach under the bathroom sink and work from there which can be an intimidating task. On the flip side, if you are used to working on these home improvement do-it-yourself projects, the job will be quite easy irrespective of the circumstance. You only require a clear guideline and get the work done.
How does the entire process start? Have you bought the new bathroom faucet? You need to understand various aspects of the sink faucet before shopping. In line with this, there are multiple factors you should consider before buying a bathroom faucet. Some of them engross faucet configuration, finish, mounting style and many more others. Once you have purchased the tap, you need to learn how to install a bathroom faucet before getting the work started.
Tools And Materials Required
- Empty bucket
- Pipe wrench
- Allen wrench
- Plumber’s putty
- Thread seal tape
- Adjustable wrench
- New bathroom faucet
- Putty knife
Procedure: How To Install A Bathroom Faucet
- Start by shutting off the main water valves. But are you replacing an old bathroom faucet? If true, you will need to start by removing it.
- Using Allen wrench, remove the screws holding the supply lines at the faucet tailpiece. Make sure that a bucket is placed underneath to collect any spilling water.
- Use a basin wrench to unscrew the nuts securing the tailpiece and washers. Remove the pop-up assembly and consequently lift the faucet from its place.
- Now that you have removed the old faucet and the next step is to install the newly purchased bathroom faucet; inspect the faucet assembly.
- Take your time and check the manufacturer’s manual to understand the unique features of the faucet that you have bought.
- On the surface of the countertop where the new faucet will sit, clean the area thoroughly. If the faucet is designed to have rubber gaskets, fit them.
- In the counter or sink, you have got the mounting holes; insert the faucet’s tailpiece and thread the washer followed by the mounting bolt onto the faucet tailpiece. Slot in the valve assemblies into these mounting holes and secure the connection.
- If you realize that your bathroom faucet is not designed to have the rubber gaskets, you will need to use the plumber’s putty to seal the connection more securely.
- Either the use of rubber gasket or plumber’s putty is essential in creating a watertight seal at the base of the bathroom faucet.
- Thus, before inserting the bathroom faucet into the sink’s holes or the counter holes, apply a roll of plumber’s putty at its base.
- To the faucet tailpiece, connect the flexible water supply lines and secure them using a screw. Tighten the connection using the Allen wrench.
- Next, you will need to connect the spout and the valves. Using the thread seal tape, wrap the connecting pieces and the valves and join the parts. Hand-tighten the connection and finally use an adjustable wrench to tighten the screws.
- If your bathroom faucet has a drain pop-up, you need to install it. The drain pop-up is used to lift the drain stopper using the sink’s top lever.
- To re-install the drain pop-up, you will need to remove the old drain tailpiece because the new set-up is integral and cannot work with the components of the old drain assembly. Start by removing the drain tailpiece and then install the new one.
- You will realize that the spring clip is located at the pivot’s end which clasps on top of the lift rod. Just press and slot in the lift rod into the spout’s hole and connect the pivot rod using the spring clip and the extension rod. You can make the adjustments to enable the drain stopper close and open without issues.
- Position the assembled faucet and countertop on the upside of the cabinet or vanity. Connect both cold and hot water supply lines. Screw and secure the connections using the Allen wrench.
- Reach the main water shut-off, and turn on the water supply. Allow water to flow for some time and check whether there were any errors in the entire plumbing work. Can you see any leaks? If none, you are right; you know how to install a bathroom faucet.
Conclusion
To conclude, you must have realized that the work was quite simple. It did not take you long and hard work to learn how to install a bathroom faucet. You should seek to learn more home improvement do-it-yourself projects and have a collection of tools for these types of work. As you keep working on them, you will realize that the tools are almost similar and you can own them. If you like this article, share it with your friends. Thank you for reading and sharing.
