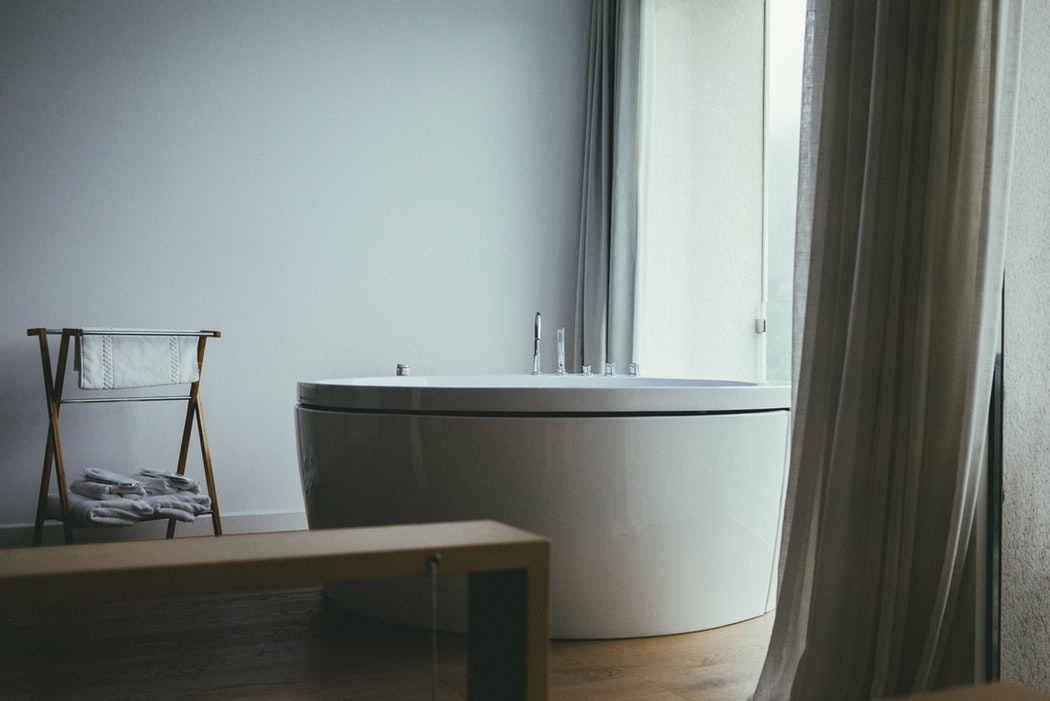
 Have you realized that your old bathtub faucet handle is not working well? Sometimes, you might find that the handle is hard to turn in either clockwise or anticlockwise direction. In such a case, it will be troublesome to work with such a bathtub faucet handle.
You need to find a solution if this is your experience. First, just learn how to replace a bathtub faucet handle. You can opt to repair the faucet handle or wholly replace it. In this case, it all depends on how you judge the circumstance.
As you prepare to learn how to replace a bathtub faucet handle, you don’t need to worry too much about the cost concerns. In reality, you don’t need a huge budget to undertake the entire do-it-yourself project. With a little cash, you can easily improve the outlook of your bathroom. You just need to have the right tools before getting deep on the details of how to replace a bathtub faucet handle.
But not all the circumstances will prompt you to replace a bathtub faucet handle. Thus, apart from learning how to replace a bathtub faucet handle, you need to understand how to repair the handle. Sometimes, it can just be a dripping faucet handle that needs minimal repairs other than a replacement. Because this scenario is common, apart from discussing how to replace a bathtub faucet handle, we will walk through the repair process.
Procedure: How To Replace A Bathtub Faucet Handle
- Before getting started, make sure you have Allen wrench, soft cloth, hammer, flat-head screwdriver, small pipe wrench, and Phillips screwdriver.
- Make sure you turn off the main water supply lines.
- If you have all these tools in place, the next thing that you should do is to locate the position of the decorative plate.
- Having found the decorative plate, you need to use the flat-head screwdriver to pry off the cap.
- After prying off the cap, you can see the setscrew that holds the bathtub faucet handle in its place.
- Use the screwdriver to turn the screw in an anticlockwise direction. In doing this, you will be able to loosen the screw and pull it out.
- Once you have removed the screw, you can now pull out the bathtub faucet handle trouble-free.
- Sometimes, the mineral deposits build up around the area make it difficult to pull out the faucet handle. In such a case, you can use a hammer to loosen the tight faucet handle and consequently pull it out.
- After you have pulled out the old faucet handle, you need to clean the area and start installing the new bathtub faucet handle.
- Slot in the newly bought faucet handle in its place and secure it with a screw. Tighten the connection and cover the screw with a cap.
- Turn on the main water supply lines and test whether there were any errors made. If all is okay, you know how to replace a bathtub faucet handle.
Procedure: How To Repair A Bathtub Faucet Handle
- Make sure you have a screwdriver, pliers, and washers before getting started. Also, turn off the main water supply. You will then turn on the bathtub faucet and allow the little water on the line and pressure buildup to evacuate.
- Locate the position of the cap or decorative cover that hides the faucet handle screw. Pry off the cap using a flat-head screwdriver and keep it safe. Avoid causing any damage to this plastic cap because you will need it again.
- You can now see the screw that you must remove it and access the faucet washer. Use a pair of pliers to unscrew the nut and safely keep the screw.
- The next thing that you should do is to remove the valve stem. Use a pair of pliers to remove the valve stem from the faucet.
- After removing the valve stem, you can see the faucet washer that is held in place by a screw. You need to remove this nut and pull out the washer.
- For the repair work, the concern is always about the malfunctioning washer; with such a case, you will always have to remove and replace it with a new one.
- Now that you have removed the old washer, you need to replace it with a new faucet washer which bears the same dimensions.
- Insert the new washer in its position and secure it with a screw. Re-install the valve stem and ensure that it properly seats in its place. At the bottom of the valve stem, tighten the packing screw.
- Finish by placing back the decorative cover. The work is now complete and you can turn on the water supply to test the working of the repaired bathtub faucet handle. If you can’t detect any drips, congratulations for knowing how to repair a bathtub faucet handle.
Conclusion
All in all, you need to know how to replace a bathtub faucet handle to enable you to work on such a do-it-yourself project. Is your bathtub faucet handle dripping? Does it appears too old and has lost its sleek appearance due to constant contact? You need to understand how to replace a bathtub faucet handle to make the entire system wholly functional. If you find this post useful, share it with your friends. Thank you for reading.