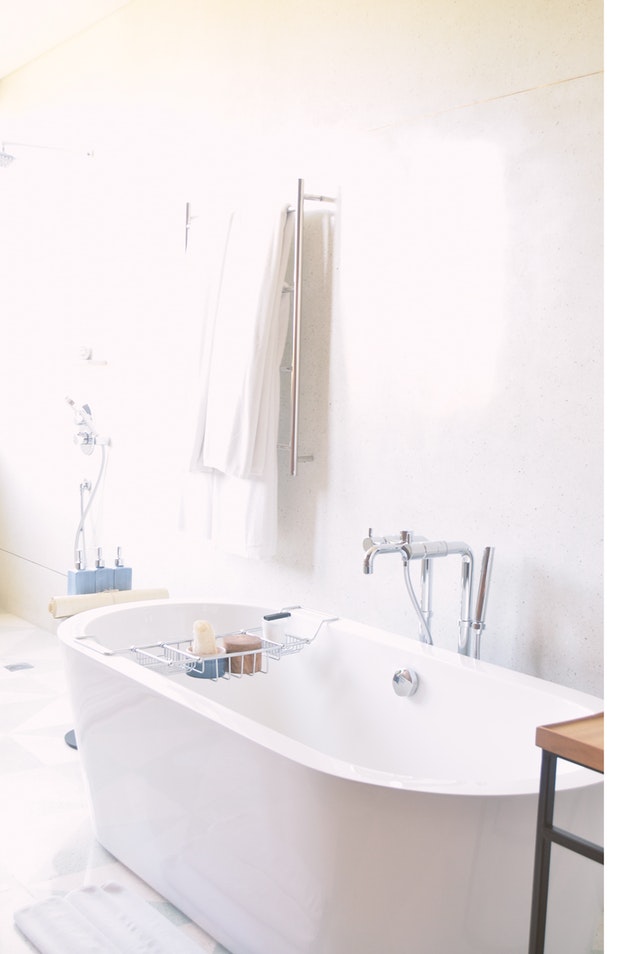
 Several factors are responsible to a leaky bathtub faucet. If your bathtub faucet is leaking, you need to know how to fix a dripping tub faucet. Mostly, bathtub faucets leak due to the problems that are associated with the washers.
When the washers are worn out, it is inevitable that the tub faucet starts dripping. The condition is pretty embarrassing and you don’t wish to move on when this is the case.
But will you always want to call a professional when the problem is not that big? Just learn how to fix a dripping tub faucet and all will be well with you. Learn most of these do-it-yourself projects and you will be good to go. Always, take good care of your best bathroom faucet and the implications will be rewarding.
Apart from worn out washers, gaskets, and seals, several other factors can still result in a dripping tub faucet. Sometimes, the stem could be the source of the condition. If the stem is the issue, you will need to replace it. Just have a collection of the right tools and a clear procedure to aid you in case you get stuck. In my view, this guide should help you resolve all these issues.
How To Fix A Dripping Tub Faucet: Single-Handled Unit
For a single handle tub faucet, the issue is all about the worn out O-ring. How do you fix this? Get ready for the task with the following tools:
- New O-ring
- Flat-head screwdriver
- Adjustable screwdriver
- A pair of pliers
- Silicone grease
In this section, I will show you how to fix a dripping tub faucet for a single-handled unit. Here we go!
- Turn off the main water supply and then open the faucet to evacuate any build-up pressure in the water supply line.
- Pry off the cap covering the bolt which holds the tub faucet in place.
- Use a flat-head screwdriver to remove the nut and consequently pull out the faucet handle.
- Unscrew the screws holding the escutcheon plate in place and consequently, pull it out.
- Using an adjustable screwdriver, unscrew the bolt that secures the faucet stem into the bathroom wall.
- From the faucet housing, you can see the protruding tip of the valve stem; use a pair of pliers to pull it out.
- From the valve stem, remove the O-ring.
- To the newly purchased O-ring, smear with silicone grease so that you can effortlessly slide it into the valve stem.
- Now that you have placed the new O-ring in place, start reassembling the faucet components.
- Re-install the valve stem back into the faucet housing in the bathroom and use the bolt to secure the connection.
- Next, re-install the escutcheon plate and firmly secure it.
- Finally, re-install the faucet handle and secure them tightly.
- You can now test the working of the new tub faucet. Does it show any further issues? If everything is okay, you are already equipped with the knowledge and you are well aware of how to fix a dripping tub faucet.
How To Fix A Dripping Tub Faucet: Double-Handled Unit
In this case, I will seek to show you how to resolve the stem-valve related problems. But before we come into that, ensure you have the following tools:
- New washers
- New gaskets
- New stem
- Faucet handle puller
- Bath socket wrench
- Flat-head screwdriver
- Plumber’s grease
Any problem that is related to washers and gaskets will be addressed as well. If these are your issues, this is how to fix a dripping tub faucet. Before you get started, ensure that all the parts needing replacement are purchased.
- Turn off the water supply from the main shut-off valve.
- Remove the faucet handle. You do this by first removing the cap covering the screw that holds the handle in place. After you remove the cap, unscrew and remove the faucet handles.
- Due to corrosion, you might struggle to pull out the faucet handles. If this is the case, use a faucet handle puller.
- The next thing that you should do is unscrewing the escutcheon followed by the stem assembly.
- Remove the stem by the use of a bath socket wrench. Make sure you also remove the washers and the gaskets.
- Now that you have all the new replacement parts in place, it is time that we install them.
- To the stem threads, smear the plumber’s grease. The same should be done to the gasket and the washer. After applying the plumber’s grease, slot in all these components in their respective places.
- Finally, grease the escutcheons and the faucet handles before re-installing them.
- After the process is complete, test the working of the connection. Is the tub faucet now working without showing any signs of drips? Sure, you must have completed this do-it-yourself project successfully. You should be happy now that you know how to fix a dripping tub faucet. The work is that simple!
Conclusion
All in all, just learn how to fix a dripping tub faucet and the knowledge will prove valuable to you in the long run. If you know how to fix a dripping tub faucet, you won’t find it necessary to invite the services of a professional. You should develop your DIY skills and start working on such simple do-it-yourself projects. Was this difficult for you? Absolutely it wasn’t. You can learn as many do-it-yourself projects as possible. If you like this post, share it with your friends.
