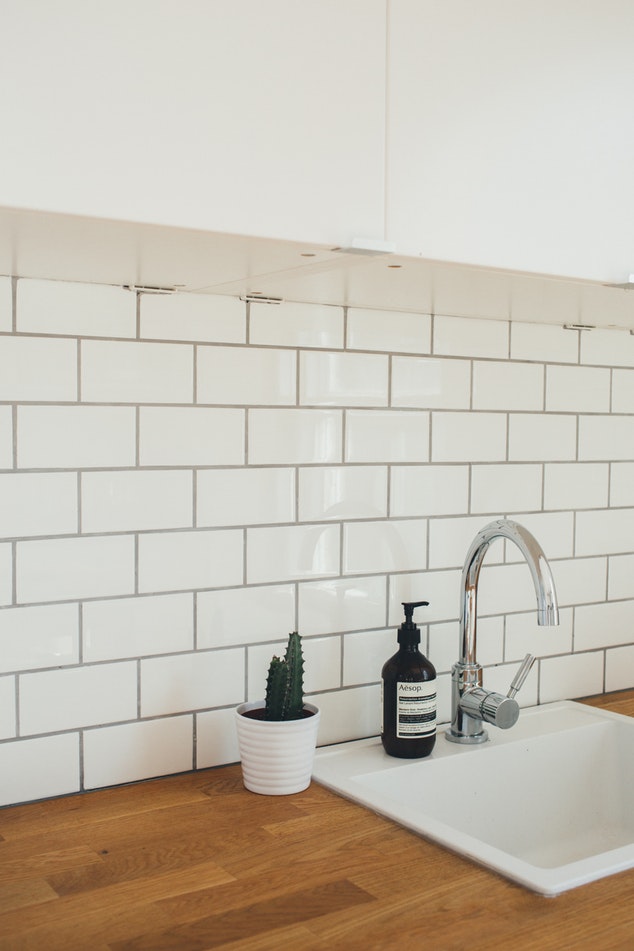
 You might not like your existing kitchen faucet because it does not look sleek, does not match the kitchen décor, or has started malfunctioning. In case you find yourself in this situation, you will need to know how to change a kitchen faucet.
The process of changing a kitchen faucet starts with acquiring a new one. You can see recommendations for best kitchen faucets here.
But before you go shopping, you need to understand the factors to consider before buying a kitchen faucet. After you are through with these two processes, you now have a kitchen sink faucet at hand.
The next step of changing a kitchen faucet is the replacement of the old model. People fear that the process might be complicated due to the issues involved when removing the old tap.
If you have been doing the usual routine maintenance practices, the process will be quite easy. You won’t find corroded pipes that sometimes complicate the entire process for a newbie.
Once the old faucet is successfully replaced, installing the new kitchen faucet will be quite easy. Sometimes, you might only require the manual that comes along with it, and the installation process is over.
In this article, I will discuss with you the primary installation process of a kitchen faucet. Since you want a change, you now have the new kitchen faucet. Then this is how the replacement is done.
Procedure: How To Change A Kitchen Faucet
- If you already have a clue on how to change a kitchen faucet, you must have shopped for a new one. The newly bought kitchen faucet must have more improved features than the old one if you indeed wanted a change. We are now in the faucet replacement section.
- Now that you have the new kitchen faucet check all the parts well before starting the installation process. If there is any defective part, you can return to the seller and complain about it. Ensure all the components of your new faucet are available in the box before attempting to uninstall the old one.
- In the next phase, read all the instructions provided in the manual. The guidelines provide you with essential directions since kitchen faucets are unique.
If you bought it from a reputable seller, the instructions should be well-illustrated, well-written, and well-designed. - Get an assembly of the tools that you need for this work. In this case, this is what you need — bucket, putty knife, pliers, and a wrench.
- Reach under your kitchen sink and turn off the valves to prevent the flow of water. You can as well decide to turn off the flow of water from the main meter.
- From the kitchen faucet handles, disconnect the water hoses. Once you do this, the water left inside will drip out. For that reason, you need to have a bucket to avoid having the water spilling on the kitchen floor.
For a kitchen faucet with more than one hose, you will need to disconnect the others as well. That could be the case for a two-handle kitchen faucet. - If you have a two-handle kitchen faucet, ensure you are aware which hose you disconnect from the cold and hot handles. Ideally, this will be important when you are reassembling and reconnecting the parts.
- You are now ready to start unbolting your kitchen faucet. Sometimes, it could be attached to the kitchen sink, countertop, or the wall near the sink. Just use pliers to unscrew the nuts regardless of where the faucet is installed. After all, it is just the bolts that hold the tap in place.
- In this step, scrape the putty or grout that was previously used to hold the faucet in the place. The place now looks good! You can now pull out the old faucet after which you will need to clean the area using soapy water.
- This step will involve the installation of the new faucet. Depending on where it is designed to be installed, you will have to follow the instructions.
If they are clear, well-written and the illustrations are well done, you should find it easy to know whether the faucet should be installed on the wall, countertop, or a position at the sink. If you understood the factors you should consider before you choose a kitchen faucet, this is not an issue for you. - Place the new faucet in its position and use screws to secure it. Secure the tap tightly so that it positions firmly. If the valve is securely held at its place with the bolts and washers, it should not wobble. Make sure all the other faucet elements are firmly held including the handles and sprayer’s hose.
- You can now open the water flow from the main meter or valve. Test whether there is an issue when the water is flowing and if any, try to fix it. Could be, you did not tighten all the elements well.
If everything was done well, the water should be flowing as you wished. Now, you must be happy that you know how to change a kitchen faucet. As you have realized, it is a process that you can do it yourself.
Conclusion
All in all, if you want to know how to change a kitchen faucet, this guide comes in handy to you. In this post, you have studied the logical and straightforward process that you can use to change a kitchen faucet. As you have realized, the entire process starts with acquiring the new tap which has features that you want. After that, you replace the old faucet with a new one. As you have gone through the process, you must have realized that anyone can do this because the process is super easy. If you like this post, share it with your friends.