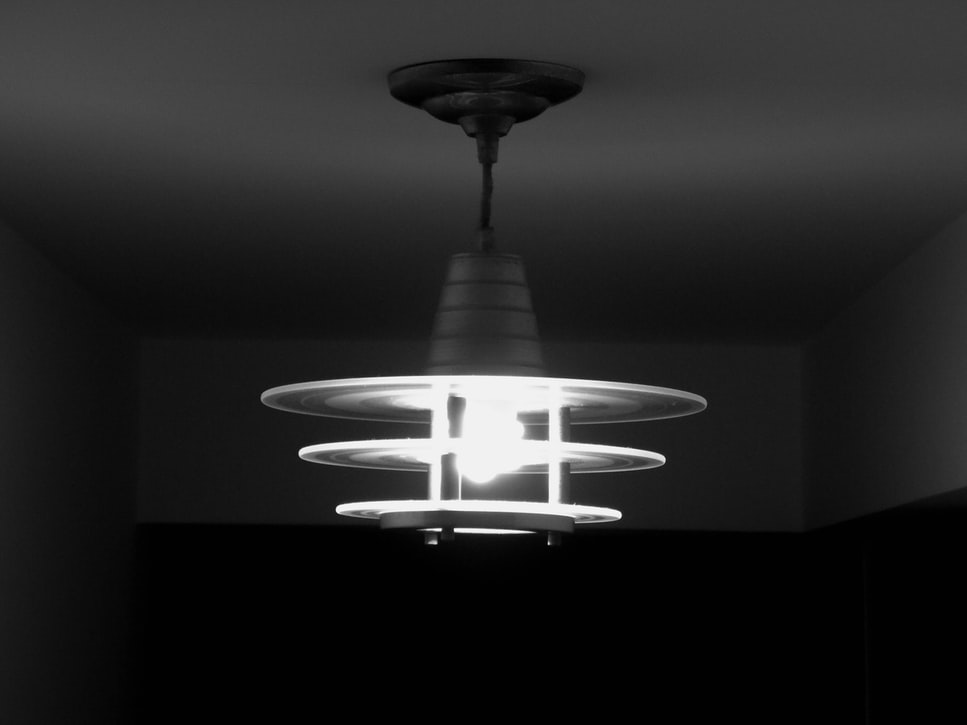
 Is installing hanging ceiling lights giving you a hard time? Do you want to optimize the lighting in your home? There are many factors that you should consider. First, you will note that most homeowners have installed windows in their homes. This can be a good way of enjoying natural light during the day.
However, this is not enough. You need to get some light during the night. Therefore, you can consider installing ceiling lights in your house. This can go a long way in adding more liveliness to your house. By doing this, you will define your room by giving it more warmth and brightness.
Contents
Installing Hanging Ceiling Lights: Step-by-Step
The good news is that ceiling lights come in different colors, shapes, patterns, and so on. This article will guide you on how to install hanging ceiling lights in your home:
1. Turn off the power
When you want to install a ceiling light in your home, the first step should be to turn off the power. This is because you might end up getting electrocuted when installing this lighting on your ceiling. Therefore, you should find your home’s circuit breaker or fuse box and then turn off power to the room where you want to install the light.
2. Remove the old fixture
If you are not installing a ceiling light in a new house, you should consider removing the old light fixture first. In this case, you should first detach the fixture. The good news is that this process does not take long.
Since you have switched off the power supply, you can be sure that you will be safe. Depending on the type of fixture you had previously installed, it might only take a few minutes to get this job done. To decrease the chances of dropping the old lighting, you should have someone hold it up for you while you detach it from the ceiling.
Here you need to remove the old wire connectors. These are normally small plastic caps that cover the connections between the fixture wires and the house wiring. Twist them in a clockwise manner until they become loose.
Before you disconnect the wires, you should use a voltage checker just to ensure that there is no current running through them. Once you are done, you can then disconnect the wires and remove any remaining part of the old fixture that might be attached to the ceiling.
3. Ensure that the installation location is safe
It is important to ensure that the electrical junction box is supported by a beam and not just screwed into drywall. If the electrical box and light fixture are not well supported, it might fall. So, if there is no adequate support, you should not attempt to proceed with the installation process.
Before you install the lighting, you should ensure that the screws holding the electrical box in place are tight. The box should be secure too. It is important to tighten the screws but not to over-do it.
4. Attach the power wires
As you connect wires from your lighting fixture to those hanging out of the junction, you should consider getting an assistant to hold the lighting for you. Here, you should connect the wires according to the directions provided with the light. As a result, you should connect black to black and red to red.
Once you do this, ensure that you wrap both ends of the wire together. You can then screw the wire nuts to cover the exposed connections. Here you should secure them tightly.
5. Attach the ground wire
You should find the ground wire on the ceiling light. Depending on your wiring, you can either wrap it around a ground screw located in the junction box. You can also choose to attach it to a protruding ground wire.
The ground wire is normally green in color. It can also be bare copper wire. To hold the wire in place, you can use a ground screw to tighten the screw.
6. Secure the wires
Here, you should push the wiring up in the junction box. These wires should remain secure together with the wire nuts. Your new fixture should come with a bracket or mountain screws that are needed to firmly attach the ceiling light to the junction box.
7. Hang the light
Once you have ensured that all the connecting wires are safe, time is ripe for you to hang the light. This process will vary depending on the style of ceiling light you are installing. Then, you should check these directions before you start. You can then install a bulb and subsequently light up the bulb
If your connection was right, the bulb should be functional. If the light does not function well, you should turn off the power supply and then check your wiring. Chances are, your connections have a problem. However, once you rectify the problem, the bulb should light up immediately.
What are the Advantages of having Ceiling Lights in your Home?
There are numerous benefits of having hanging ceiling lights in your home. These include:
1. Help to make your house look larger
Some homeowners have built small homes out there. Others bought small homes due to their own reasons. If you want to make your house look larger, you should install these lightings in your home. That could be the case, especially for bedroom lighting. Ceiling lights can make your room look larger than usual.
2. Aesthetic appeal
There are many ways of increasing the aesthetic appeal of your home. Installing these lights will make your house look more appealing. If you have painted the interior with bright colors, you can be sure that your living room will look more beautiful and attractive.
3. They are versatile
The good news is that these lights come in different shapes and colors. Therefore, you can readily choose the style that suits your needs. Ideally, it should match the interior décor of your home. This versatility makes them more popular in most homes.
4. More light
Some areas can be dark if you choose to rely on natural light to illuminate such areas. However, if you install this lighting, you can be sure that you will have ample light in your house. This can enable you to do your activities more conveniently.
Conclusion
Installing ceiling lights in your home not only and a bit of flair bit also creates some ambience. The above guide can help you hang these lights more conveniently. You can consider having an assistant to help you hang these lights. If your ceiling is too high, you can hire an expert to help you out. Consider this guide today and you will not be disappointed. Ceiling lights are truly incredible.