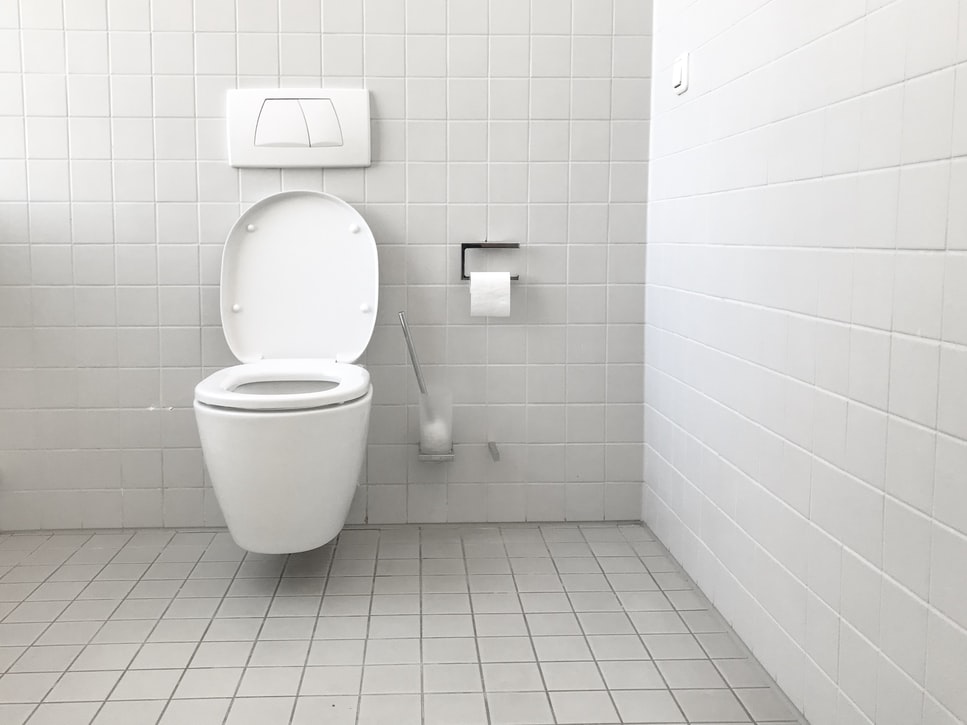
 Do you want to set a new toilet all by yourself? Then you need to learn how to set a toilet. In this case, there are many factors that you should consider. First, you will note that is you buy the best toilet, it will be an important component of the bathroom. You need to ensure that it is in good condition all the time.
However, there are instances when you might want to give your bathroom a new look by installing a new toilet. When setting a new toilet, most people normally choose to hire an expert in this field. But, did you know that you can do this on your own?
Contents
How to set a Toilet
You will be surprised to note that setting a new toilet is a lot easier than you think. The following is a procedure on how to set a toilet by yourself:
1. Disconnect the supply line
Before you start anything, you should first turn off the water at the shutoff. You can flush the toilet to remove most of the water from the tank and the bowl. However, some water might still be left in the bowl.
If you notice this, you can use a force-cup plunger to force it down the drain line. The remaining amount of water can be removed using a sponge and a bucket. Once this is done, you can disconnect the supply line from the base of the tank.
2. Remove the old toilet
Once you have shut off the supply line and flushed down the water in the tank, you can then remove the old toilet. To do this, you need to pop off the trim caps at the base of the toilet.
You can then loosen and remove the nuts and washers on the closet bolts securing the bowl to the floor. Sometimes, you might find out that the nuts have rusted. If this is the case, you can cut them off with a hacksaw.
Now that you are doing all this alone, you should disconnect the tank from the bowl before disconnecting and removing the bowl. This way, you can be sure that lifting the two pieces will be easier for you.
Once you have removed the shut and washers on each side of the bowl, you can then gently rock the toilet back and forth until you can lift it freely. You will note that once you have removed the toilet, you will see an open line to the sewer system.
It is advisable that you stuff a rag into the hole to prevent sewer gases from diffusing into the rest of the home. Also, this piece of cloth normally reduces the chances of the tools falling into the hole. Around the hole, you will see a circular ring known as the flange and on top of it is some old wax ring.
The main purpose of this wax ring is to seal the connection between the toilet base and drain pipe so that water and odors do not leak through. Since you are going to create a new seal, you should scrap this wax around the drain opening. You should try to remove as much of the old sealant as possible for proper sealing.
3. Install a new wax seal
As you install the new wax seal, you should first check to see that the flange beneath the seal is not cracked. Once you have inspected the flange, remove the rag from the hole. If you notice that the flange is damaged, you can contact a plumber to help you.
However, if it is okay, you can remove the rag and then take the closet bolts out of the flange. Thereafter, you can install the new wax seal and then hook the new closet bolts into their slots on the flange. Always remove the rag before installing the new wax seas as failure to do this might be a very costly mistake.
4. Attach the tank and the bowl
Now that the closet bolts are in place, you can readily attach the tank and the bowl to assemble the new toilet. Here, you should slide the tank bolts throughout the opening at the bottom of the tank. Ensure that you line up the shank of the bolts with the holes in the bowl and then drop the tank into place.
You should secure the tank to the bowl by tightening the nut onto each tank bolt. Ensure that you tighten the nuts until the tank rests firmly on the bowl.
5. Secure the toilet and finish the setup
Once you set the assembled toilet onto the flange assembly, you should ensure that the closet bolts protruding from the floor line up with the holes in the base. Press the toilet lightly in place to form a good seal with the wax ring.
Subsequently, you should then place several washers and a nut to each bolt. Ensure that you secure the nuts with a small wrench. When doing this, you should avoid over-tightening the nuts. If you notice that bolts extend far even after over the top of the nuts and washers, you can cut the excess part with a hacksaw.
Once you do this, you can then pop the trim caps in place to cover the end of the bolts and then secure the new toilet seat and bowl with mounting bolts. Lastly, you should use slip-joint pliers to reconnect the supply line to the bottom of the tank.
You will notice that the toilet water supply line will start making noise when you turn on the water valve located next to your toilet. However, this noise does not last. This stops after 10-15 seconds.
Afterwards, the tank will be filled with water and the toilet will be ready for use. You should check for leaks to avoid further plumbing issues. If you have fitted the toilet well, there will be no leakages.
Conclusion
Setting up a new toilet on your own should not stress you anymore. These steps will guide you on how to set up a new toilet seamlessly. This will help you save more money and even improve the value of your home. Follow these steps today and you will be able to set up a new toilet successfully.